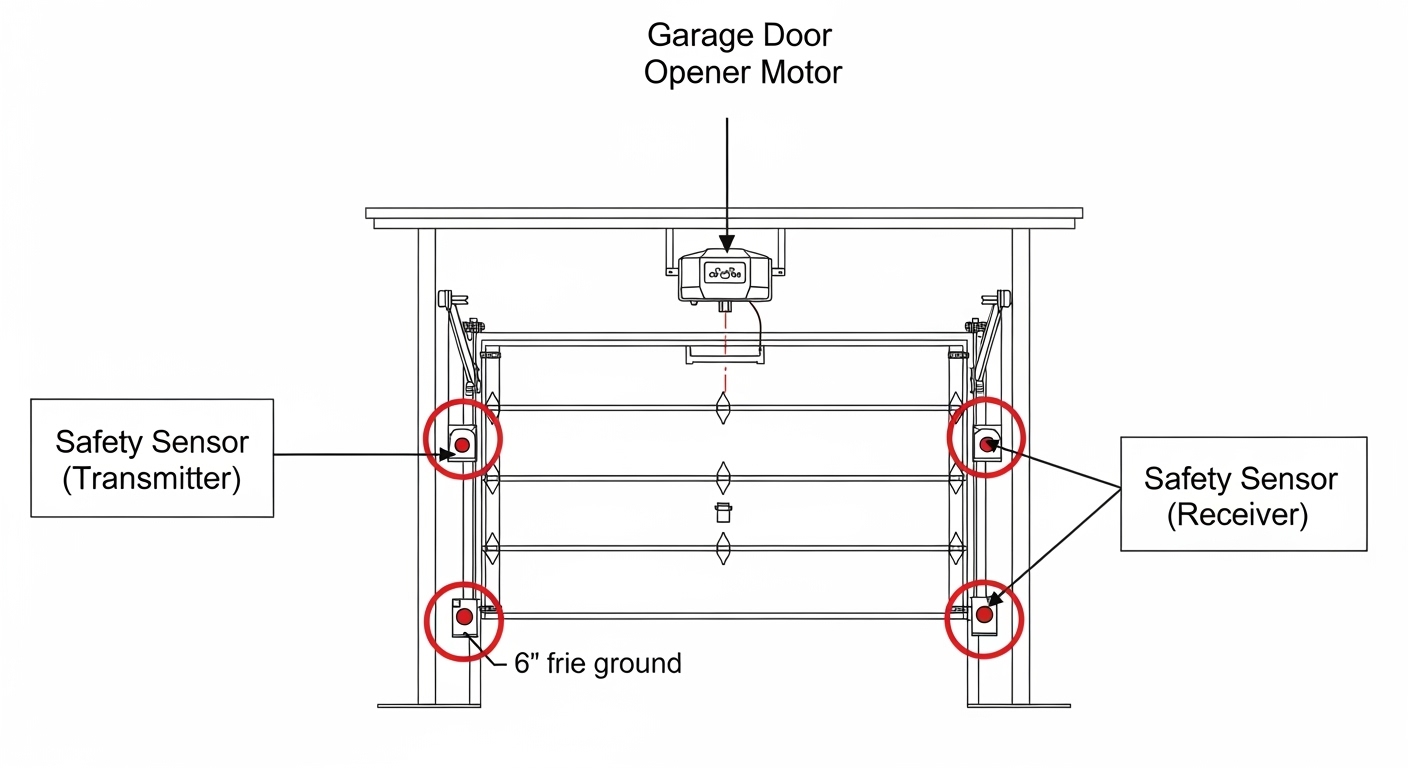
Garage doors have become a very important part of modern homes; they also help in providing convenience, security, and protection for your vehicles and belongings. Every automatic garage door system depends on the two small but very important parts which are: the garage door safety sensors. Why are these important? Because these sensors stop the door from closing if something, a person, or a pet is in the way.
When they malfunction your garage door may refuse to close or stop halfway or even reverse unexpectedly and yes this happens sometimes. I personally find it very annoying plus it can also be unsafe but every single problem has its solution and thankfully many garage door sensor problems can be fixed without a pro if you follow the right steps.
This blog post is for those who want to spot the problem or fix them or even replace broken sensors which will help you in keeping them working pretty well and after you are done reading this article you will know exactly how to get your garage door working safely again.

How to Tell if Your Garage Door Sensor Is Faulty
Well repairing those sensors are crucial but first we should know where the problem lies right? So for that read the 4 points below.
- The door won't close all the way: It might stop halfway or go back up on its own.
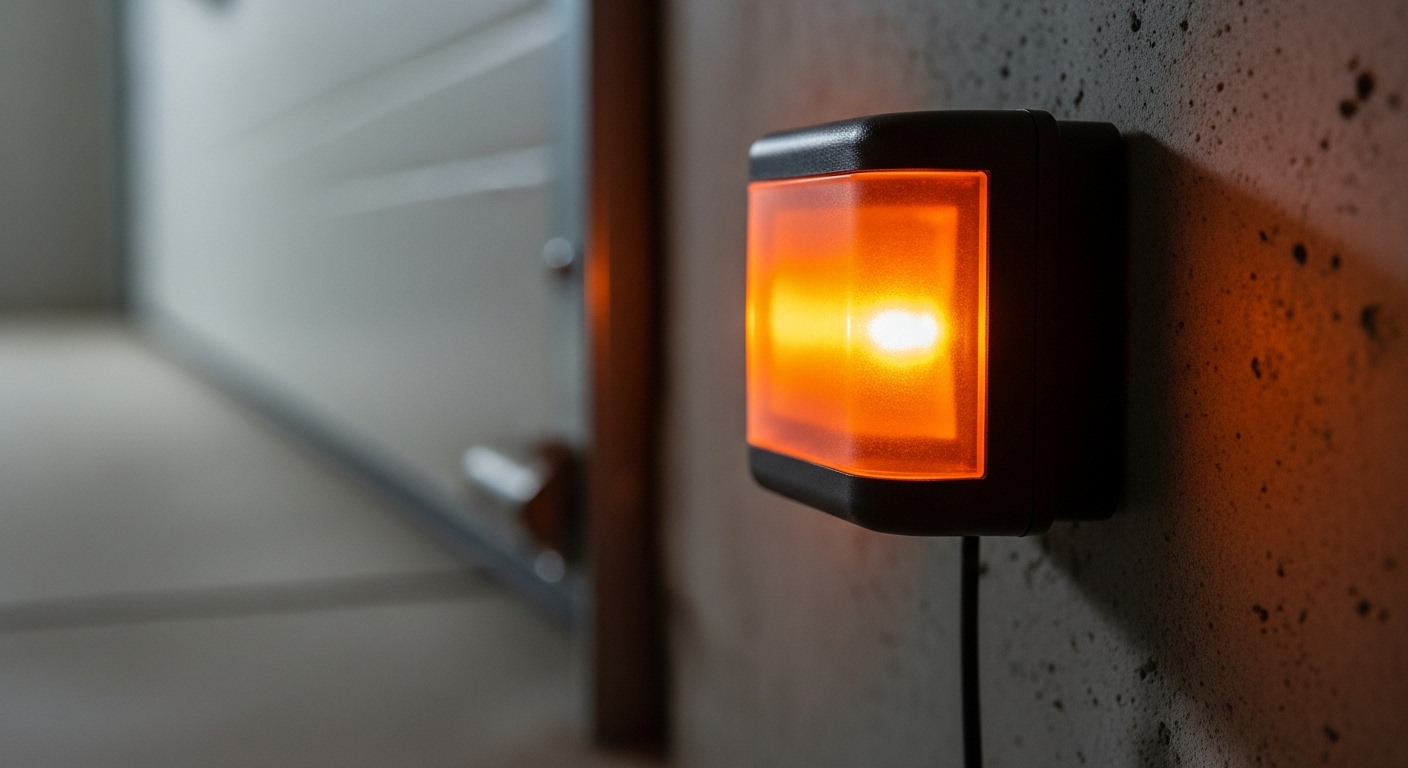
- Sensor lights keep blinking or flashing: The lights usually show if the sensors have power and are aligned.
- The door goes back up for no reason: If nothing blocks the way, dirt or misalignment may be causing it.
- The opener runs but the door doesn't move: This usually means the motor isn't getting the signal.

5 Steps to Fix Your Garage Door Sensors
Lets try to fix these issues in order. I will recommend trying these solutions one by one and if the first one does not work you can go with the second one. From here you will understand why expert’s opinions matter when we give multiple solutions.
1- Identify the Issue (Check Indicator Lights)

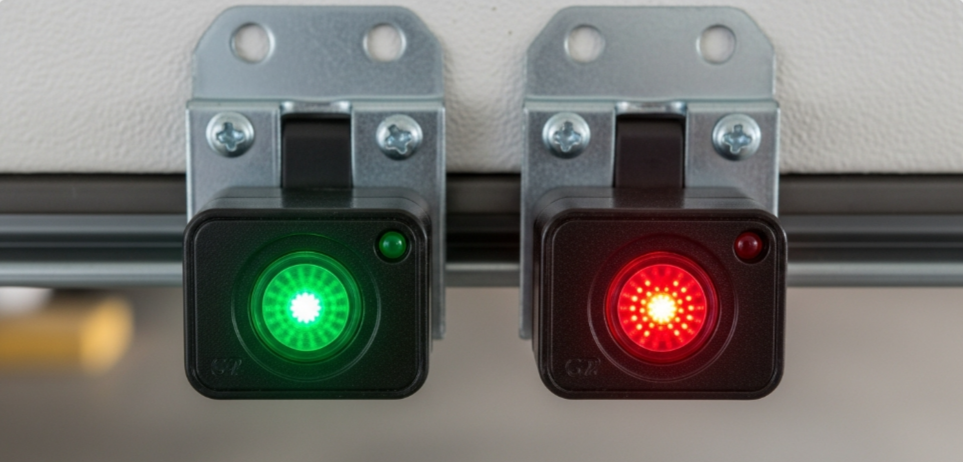
Start by checking the sensors’ LEDs. One sensor should show a solid green or yellow light (sending), and the other a steady red or green light (receiving). If you see a blinking red light or no light at all on a sensor, make a note of it.
If the lights are steady for example a green light on the sending sensor and a red light on the receiving sensor it usually means that the sensors have power and are lined up correctly. The problem might be somewhere else in the system.If the lights are blinking or completely off it usually means that the sensors are not lined up properly or something is blocking them or there is a problem with the wiring. For example if one sensor has a blinking red light it often shows that it is not receiving a clear signal from the other sensor because they are not aligned correctly.2- Make Sure the Sensors Have Power
If the sensor lights are completely off it usually means they do not have power. Check to make sure the sensors are connected and receiving electricity and make sure the garage door opener is plugged in and the circuit breaker or fuse is working properly. Sometimes the outlet for the door might be on a different breaker so check that one as well.
Make sure there has not been a recent power outage. You can check quickly by looking around your neighborhood to see if other houses lost power too and check that the garage door opener’s power cord is not broken or damaged in any way.
If you fixed a breaker or plugged the opener back in turn the power back on and check if the sensor lights turn on. If the lights still do not come on there may be a problem with the sensor or the wiring. If the lights now work, try closing the garage door. Sometimes just turning the power off and on again can fix strange problems with the sensors..
3- Wipe and Clean the Sensor Lenses
Dirt and debris often cause problems with garage door sensors. The lenses are close to the ground so they can get dusty or covered with cobwebs or spider webs. A dirty lens is like wearing foggy glasses because the sensor beam cannot pass through. This makes the door think something is in the way and it will not close.
To fix the sensors, gently wipe both lenses with a soft dry cloth. A microfiber cloth works best. Remove any dirt or debris you can see. Be careful not to use harsh chemicals or too much water because the lenses are delicate, like camera parts. You can also blow on the lenses or use canned air to remove stubborn dirt. After cleaning, tighten the sensor brackets by hand and check the lights again. Often just wiping the lenses will stop the blinking and the lights will stay solid, fixing the problem.
Think of this as giving the sensors a spa day. They work hard watching for obstacles and they appreciate a little polish now and then. (just kidding)
4- Adjust and Realign the Sensors
Even a small bump can move a sensor out of position. The sensors need to face each other directly and be level. When they are not lined up correctly it often causes the red light to blink.
To fix the sensors, first loosen the screws on both sensor brackets just enough so you can move them up or down. You can use a small level or a tight string between the sensors to make sure they are the same height. One trick is to tie a string from one sensor to the other and check that it is level. Then slowly move each sensor until both lights stay solid and do not flicker. You may need to adjust them little by little. Once both lights are steady, usually one green and one red or green, tighten the screws to hold them in place.
Sometimes sunlight can disturb the sensor beam especially in the late afternoon. If fixing the alignment only works for a short time, try shading one sensor with a piece of cardboard or put a non-reflective patch on it. Make sure you do not block the beam from the other sensor.
5- Check the Sensor Wiring
If the sensor lights are still off or blinking after cleaning and adjusting them, the problem might be the wiring. Wires run from each sensor up to the garage door opener motor. Over time these thin wires can get damaged, pulled loose, or even chewed by mice. A broken or bad connection can stop the sensors from getting power and working correctly.
Do These Steps Carefully:
- Turn off the power by unplugging the garage door opener. Be careful because the wires might still have electricity in them.
- Check the wires by following them from each sensor back to the garage door opener. Look for any cuts, pinches, or places where they might have been chewed. Even a small nick can cause problems. Also look at the insulation. If it is cracked, water could get in and cause a short circuit.
- Test the voltage if you have a multimeter. Check that each sensor is getting around 12 to 24 volts as the instructions say.
- Clean the connections by removing any rust or corrosion on the terminals. You can use fine sandpaper or a small brush. Corrosion can make the sensors lose power and stop working properly.
After repairs, reattach power and see if the lights behave. (Don’t worry if you make a mess – it’s far less hazardous than trying to fix a spring!)
How to Put in a New Garage Door Sensor?
If none of the above steps works, the sensor itself may be faulty (e.g. water damage inside). Garage door sensors are usually inexpensive and relatively easy to replace. Be sure to buy the correct type for your opener (many openers use a standard 4-wire photo-eye).
Replacement steps (DIY):
- Unplug the opener.
- Remove old sensors.
- Cut back old wires.
- Connect new sensor wires.
- Mount new sensor.
- Test with obstruction.
(If the new sensors also fail immediately, double-check the wiring polarity – some sensors must be on the correct side. If unsure, a quick swap of left/right can sometimes fix it.)
Know When to Call a Professional
If you have tried all the steps above and the garage door still does not work, it is time to call a professional. You should also call sooner if you feel unsure at any step, especially when dealing with wiring or springs. Licensed garage door technicians have the right tools and experience to safely find and fix difficult problems.
Conclusion
A broken garage door sensor can be frustrating but most problems can be fixed by following the right steps. By checking that the sensors have power, cleaning the lenses, making sure the photo-eyes are aligned, and inspecting the wiring, you can often solve the issues yourself without paying for an expensive service. Use the tips above as a DIY checklist and soon your garage door should open and close properly again. If it still does not work, professional garage door technicians can help. With working sensors, your garage door will be safe and reliable, giving you peace of mind that it will only close when nothing is in the way.
