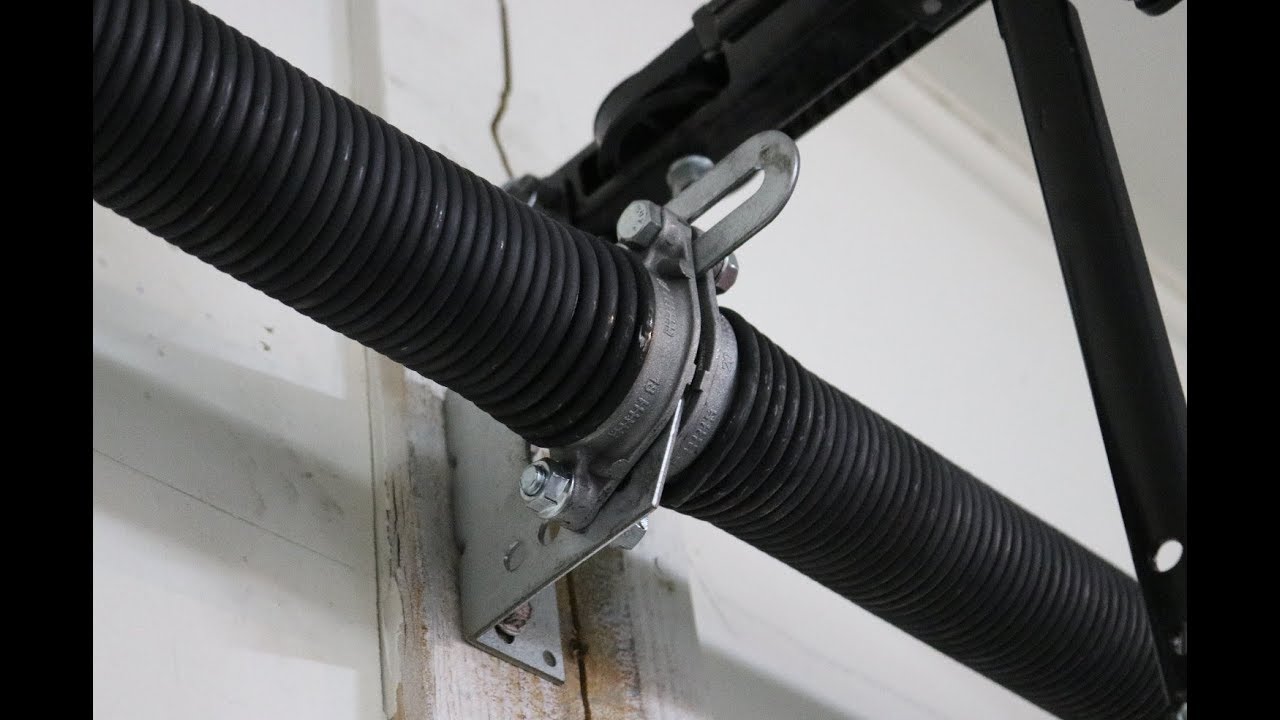
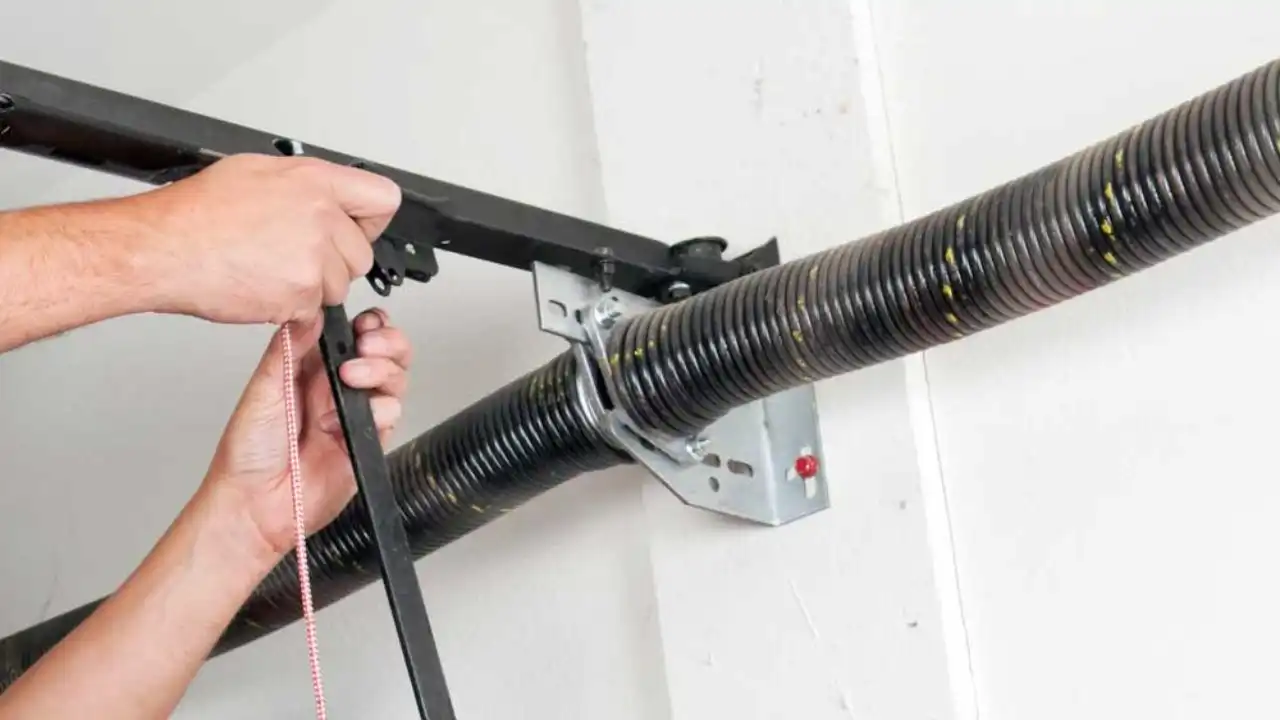
Without springs, the garage door opener would struggle to lift such a heavy load. Extension springs store and release energy each time the door opens or closes, keeping the door balanced and preventing it from crashing down. If the springs wear out or break, the door may slam shut, become crooked, or stop opening altogether.
Extension springs might look simple, but they are under a lot of pressure. That pressure is what helps them carry the door’s weight, but it also makes them dangerous to handle if you are not careful. A sudden snap can cause serious injury or damage.
Some homeowners choose to replace extension springs on their own, especially if they are comfortable with tools and follow proper safety steps. However, it is not a task for everyone. If the door is very heavy, the springs are hard to reach, or you feel uncertain about handling high-tension parts, it is better to call a trained garage door professional.
Gear Up with the Right Protection Before Installing the Door Spring
Extension springs may look harmless, but they carry enough tension to cause injury if handled the wrong way. Before touching any part of the system, it is important to get prepared and take precautions. A safe setup makes the job easier and lowers the chance of accidents. Having the proper tools and safety gear is the first step. Here’s what you’ll need:
- Safety glasses to protect your eyes from flying parts.
- Work gloves for a steady grip and to protect your hands.
- C-clamps or vice grips to hold the garage door in place while you work.
- Winding bars (if required for your setup) to handle spring tension more safely.
- An adjustable wrench for loosening and tightening bolts.
Before removing or installing anything, disconnect the garage door opener. This keeps the opener from moving the door while you’re working on it. Next, raise the door completely so the springs are under the least amount of tension. Once the door is open, lock it in place with clamps on both tracks. This step is very important because it keeps the door from suddenly dropping during the job.
Safety Steps and Tools You’ll Need
Working with extension springs is not like changing a light bulb. These springs are tightly wound and carry enough force to cause injury if something slips. Before starting, take a few minutes to set up a safe work area. Disconnect the garage door opener so it does not move while you are working. Then, raise the garage door fully and secure it with clamps on the tracks to keep it from falling.
Must-Have Gear and Tools
The right tools make the job smoother and safer. Here’s what you should gather before starting:
The right tools make the job smoother and safer. Here’s what you should gather before starting:
- Replacement extension springs that match the size and weight of your garage door
- Safety cables to keep broken springs from flying loose
- C-clamps or vice grips to hold the door steady
- Pliers, wrenches, and sockets for loosening and tightening hardware
- A sturdy stepladder for safe access to the springs
- A tape measure to confirm the size of your replacement springs
- Safety glasses and gloves for personal protection
Having everything ready before you begin means you won’t be rushing around mid-job, and it keeps your focus on doing the work safely.


Step 1: Choosing the Right Replacement Spring
Before buying new extension springs, take time to measure the old ones carefully. You’ll need the spring’s length, coil diameter, and wire thickness. The wire gauge can be figured out by counting how many coils fit within 10 or 20 inches, then checking a gauge chart. These measurements help you find an exact match, which is important because the wrong size can make the door hard to open or unsafe to use. The spring must also match the weight of your garage door. Too light, and the door will feel heavy; too strong, and it may snap open suddenly.
Even if only one spring has broken, both should be replaced together. Springs work in pairs to keep the door balanced, and mixing an old spring with a new one puts uneven stress on the system. Replacing both at the same time keeps the door operating smoothly and helps the new springs last longer.
Step 2: Preparing the Garage Door for Installation
Before removing any springs, the garage door needs to be set in a safe position. Start by disconnecting the garage door opener so it cannot move while you are working. Next, lift the door all the way open. At this point, the extension springs carry the least amount of tension, which makes it safer to handle them.
Once the door is open, secure it in place by locking C-clamps or vice grips onto the tracks just below the rollers. This keeps the door from slipping down while you work. A door that suddenly drops can be dangerous, so taking this step gives you a stable setup to begin the spring replacement.
Step 3: Removing the Old Extension Springs
With the door secured in place, you can start taking out the old springs. First, remove the safety cables if your system has them. These cables run through the springs and prevent them from snapping loose if they break. Once the cables are out, unhook the spring from the track bracket. Then disconnect it from the pulley system, taking care not to twist or bend the cables.
As you remove the springs, look over the pulleys, cables, and brackets for any signs of wear. Frayed cables, worn pulleys, or bent brackets can affect how the new springs work. Replacing these parts now saves time and keeps your garage door running more smoothly once the new springs are installed.
Step 4: Installing the New Extension Springs
Start by threading the safety cables through the new springs before putting them in place. These cables are very important because they keep a broken spring from flying loose. Once the safety cables are set, hook each spring to the track bracket. Then connect the other end to the pulley system, making sure the cables run straight and without twists.
Check that both springs are positioned the same way on each side of the door. Uneven placement can throw off the balance and make the door harder to open. At this stage, the springs should feel secure but not stretched too far. Once both are attached, you are ready to move on to testing and adjusting the setup.
Step 5: Adjusting and Balancing the Garage Door
After the new springs are installed, test the door by lifting it slowly by hand. A properly balanced door should move smoothly and stay in place if stopped halfway. If the door feels heavy or falls shut, the springs may not have enough tension. If it pulls upward too quickly, the springs may be too strong or hooked incorrectly.
Make small adjustments to the cable length until the door feels balanced. This step is important because balanced springs reduce strain on the opener and help the door last longer. Take your time with the adjustments until the door opens and closes evenly without jerking or drifting.
Step 6: Testing and Final Safety Checks
- Once the springs are adjusted, run through these simple checks before reconnecting the opener:
- Open and close the door by hand a few times to confirm smooth movement.
- Make sure the door stays in place when stopped halfway.
- Check that both sides lift evenly without pulling to one side.
- Inspect the safety cables to confirm they are secure and threaded properly.
- Reconnect the garage door opener and test it with the remote.
- Perform the opener’s safety reversal test to confirm it stops and reverses when the door meets resistance.
Wrapping Up:
Replacing garage door extension springs takes patience, the right tools, and careful attention to safety. By measuring correctly, securing the door, and following each step, homeowners can restore smooth movement and balance to their garage doors. Safety cables, proper adjustments, and a final round of checks make all the difference in how well the system performs. While many people can handle this project on their own, there is no harm in calling a professional if the task feels overwhelming. A balanced, well-maintained garage door not only lasts longer but also keeps daily use safe and dependable.
